Scoops!

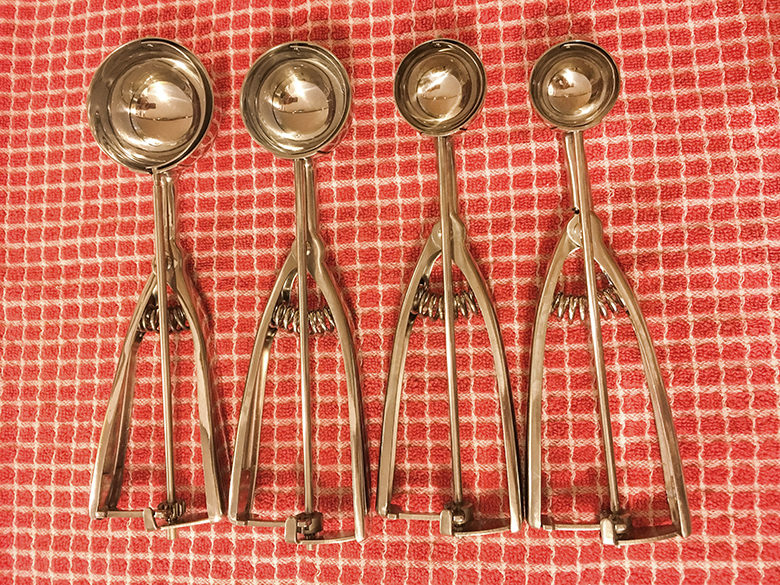
You want the scoop on my scoops?! 🙂 I absolutely love everything about a set of * scoops These are almost a part of my daily baking, they are that helpful. If you plan on doing a lot of baking or cooking, I highly suggest finding yourself a set of ice cream/cookie scoops. I have found them called both, but I call them ice cream scoops in my recipes. I use these in so many different ways, I will post several pictures below that I used scoops for. The possibilities are endless really.

Here are several of the reasons that I love using scoops:
1. They are quick and easy to use
2. They are dishwasher friendly (can I get an amen to that since a lot of my kitchen tools can’t be?)
3. It is a great way to get even amounts of things. This way my girls can’t grumble that someone else’s food is bigger 😉
4. They are so versatile in the kitchen. See below for all the ways I use them.

Now for pictures 🙂

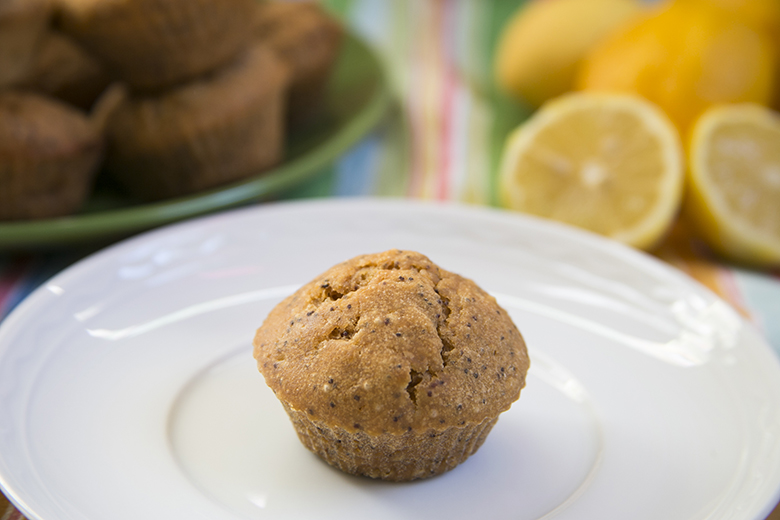
I make muffins by the 4 dozen. No joke, I do this every 10 days or so. My family eats muffins for breakfast every day, so scooping makes my life a whole lot easier and faster. The largest scoop is the perfect muffin size.

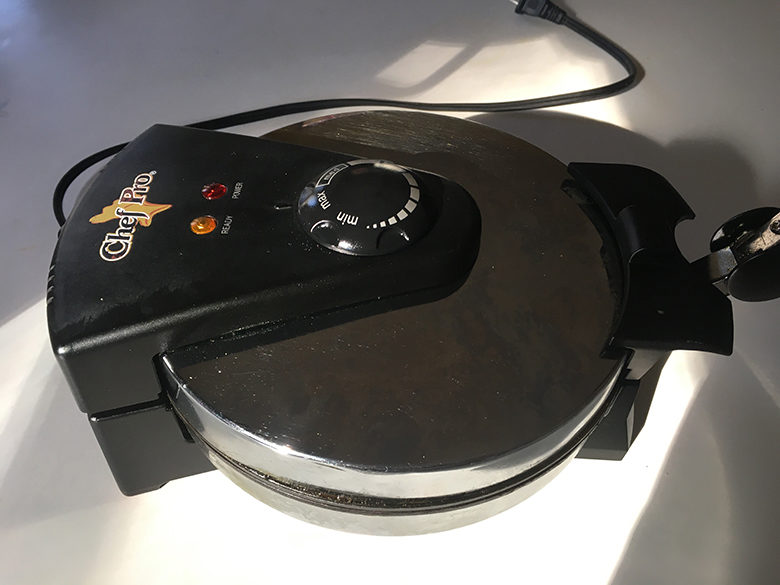
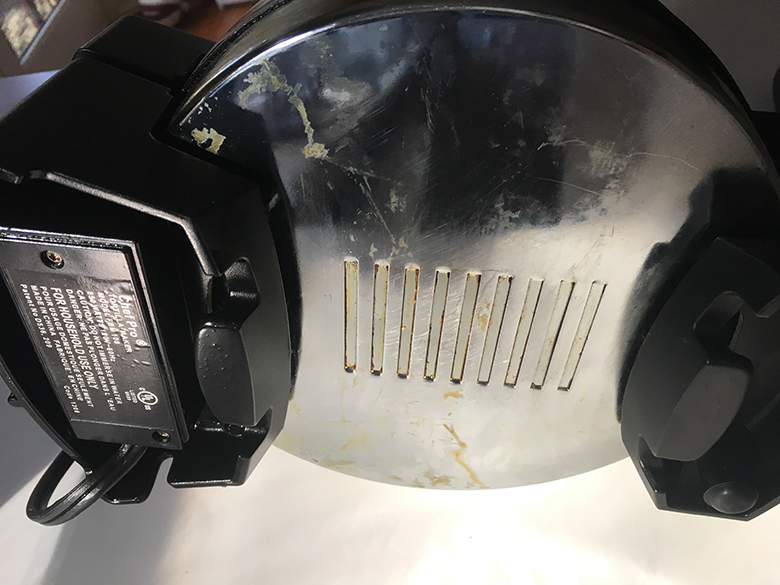
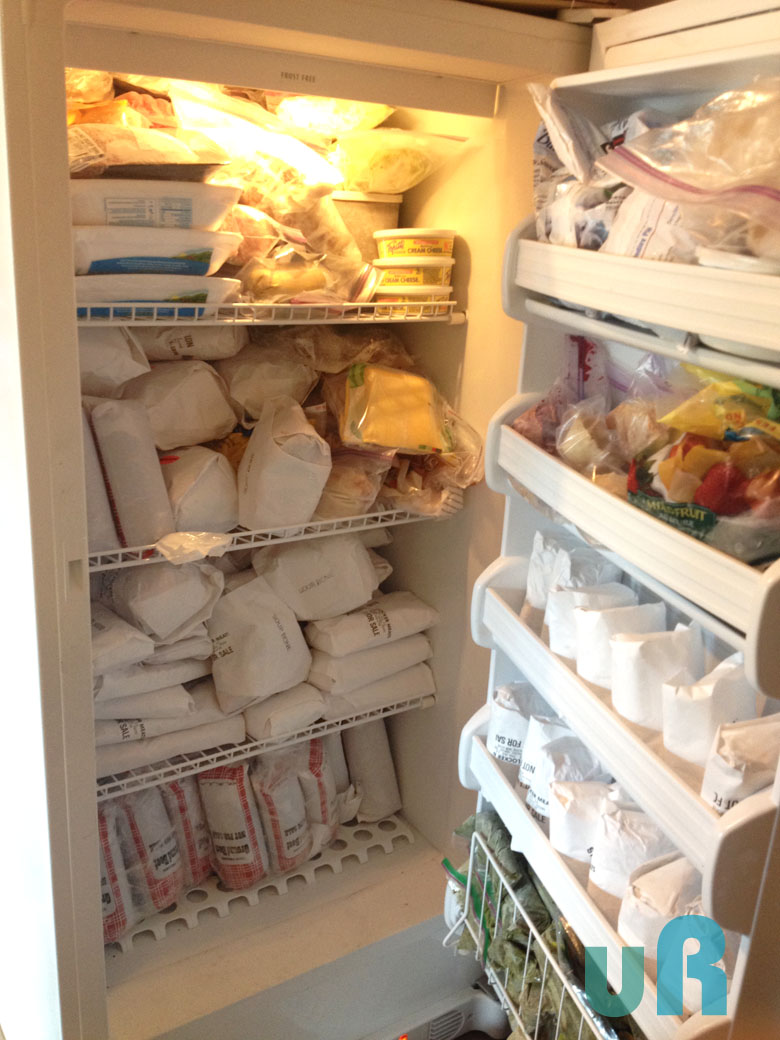
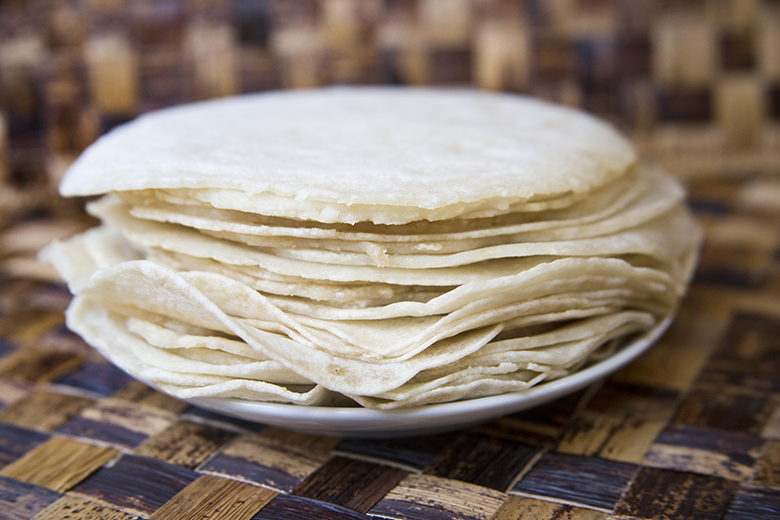
Ok, fine, you are going to begin to see that I make most things in bulk. I make tortillas in HUGE stacks and freeze them. By huge stacks, I mean 8 cups of dough, big. Again, the scoops make my life so much faster and easier here. I use the largest scoop for these as well.

No picture here, but I use my smallest scoop to make melon balls because my youngest insists that I do. In all honesty, I don’t prefer to do this, but for her? Anything! This takes longer than cutting, but it works well none the less.

We love a good healthy snack/dessert around here so we make date balls often. My second from the smallest scoop is the perfect size for these.

I do actually use my scoops for ice cream. 🙂 The largest scoop, of course!

Several other things that I use scoops for are frango chocolates, cupcakes, dinner rolls, small brownie bites, pie filling for small pies, cookies, bread sticks, buns, and more. Hopefully you find this helpful. Scoops forever changed my life in the kitchen, I hope they do for you too. 🙂

* This is an affiliate link for your convenience and to help keep my site running. I will always give my honest opinion, for me, there’s no other way to be. Also, I am a frugal shopper and I like to pass that on to my readers as well. 🙂

Tortilla Press Review

I told you all last week that I would give you my review on the *tortilla press that I have. Honestly, I LOVE this tortilla press so much. I think I made tortillas by hand one time which included rolling them all out and then frying each one individually. If you must do that, it works, but man it is a lot of work. For me, it wasn’t worth making tortillas at that pace.

A few things that you will learn about me more and more are that I am frugal where I can be, I save time when I can, I make simple but tasty foods, I skip unnecessary steps in recipes to save time, and I’m a bit unconventional in the kitchen to be able to do the things mentioned above. There are times that I have to decide which of the above are the most important if I can’t squeeze them all into one recipe. I think the tortillas fit into most of the above. The press wasn’t terribly expensive, it saves me SO much time, it is simple and easy to use, but this one isn’t unconventional. You can see a video on how easy they are to make under my oat tortilla recipe. It really is amazing how fast and simple it is.

Tortillas

Ingredients

2/3 C Brown rice flour
2/3 C White rice flour
2/3 C Tapioca starch
1 t Guar gum
½ t Cream of tartar
¼ t Baking soda
1 t Salt
1 C Warm water

Directions
In a large bowl mix together all dry ingredients well with a spoon. Add water to dry mixture and mix until well combined. The dough is a bit sticky. I use a tortilla maker to make these which saves a ton of time. Using a large cookie scoop place dough on tortilla maker, press down, let cook for about 30 seconds, then remove and place on a plate. Enjoy!

If you are making these by hand with a frying pan I would still use a cookie scoop to get even balls. Then use a baking mat dusted with extra tapioca starch. Place a ball of dough on the mat, sprinkle the top of the dough with more tapioca starch, then roll out into a circle. Spray pan with non-stick spray and fry each side for 10-15 seconds. Repeat until done.

This recipe works really well to double.

The one thing that I really don’t like about my tortilla press is that it’s not that easy to clean. While the press says it is non-stick, I find that I need to use non-stick spray to ensure my tortillas don’t stick. With that, the grease from the spray leaks out the bottom (see the photo below). This is definitely not a deal breaker for me, but something I think is important to share with you all. I clean it the best I can and then I store it with a paper towel underneath it.

Now for my unconventional idea with the tortilla press. For a long time, I have been wanting to make home made ice cream cones that are cane sugar free for my family. I found a great looking recipe that I want to try, but I just can’t get myself to buy an ice cream cone press. While it would be fun to have ice cream cones with the checkered pattern, I don’t think it is necessary to have the pattern and add another gadget to my kitchen. I am going to attempt to make ice cream cones with this tortilla press. 🙂 Wish me luck and I’ll let you know how my pattern free ice cream cones turn out.

* This is an affiliate link for your convenience and to help keep my site running. I will always give my honest opinion, for me, there’s no other way to be. Also, I am a frugal shopper and I like to pass that on to my readers as well. 🙂

Bulk Baking

IMG_7178bulkfreezer

I have been asked several times how I keep my family fed when I have to make the vast majority of what we eat. The answer is simple, but making it happen takes time. Bulk baking is the only way that I can realistically keep bread on the table, literally. Early on, we invested in a large freestanding freezer that sits in our garage, which holds meat, sauces, fruit, and a few other random items. In our freezer that attaches to our refrigerator which feels small, I put desserts, breakfast items, bread items, and frozen veggies. Without all of the freezer space we have, I wouldn’t be able to bulk bake the way I like to.

Typically, about twice a week, I spend several hours baking. Since I still have two daughters at home during the day, they bake with me or I bake while they nap. The items that I typically make in bulk are, muffins for breakfast, sandwich bread, egg cups for breakfast, buns, tortillas, and any dessert. I choose to bake all of these in bulk because they aren’t items that can be baked quickly, they disappear quickly, and/or we don’t eat them daily so they aren’t on the top of my head to make when I really need them.

Ziplocks and permanent markers have become two of my best baking friends. I freeze all of my baked goods in Ziplock freezer bags and then label the item with what it is and who can/can’t eat it. Since our family has a very long list of allergies and intolerances between us, labeling is really important for us. I want to be sure that anyone (babysitter, grandparents, friends, etc) who opens my freezer to pull an item out knows who can eat the contents in the bag.

A few weeks ago, I had one of my dear friends over that lives in another state. We ate dinner and then I asked if she wanted dessert. She asked what I had so I went over to my trusty freezer to tell her. To my surprise, I listed at least 10 different dessert choices. Clearly I have a sweet spot for making desserts even though I can’t eat any of them myself. I find myself seeing amazing desserts online in so many places, tell myself that I can surely make that yummy dessert for my family, and enjoy the smell of baked goods. Since this time, I have put myself on a no baking new desserts restriction. ☺ When the dessert stockpile begins to dwindle, I have some amazing recipes to fill my freezer back up. HA!

I would love to work with you to help learn to bulk bake, or just to begin the journey of allergy friendly baking. Contact me to find out how I can help you.

*Note- This picture was taken the day I brought home 1/2 of a grass fed cow. My freezer isn’t normally that full. I just snapped this with my phone to show my husband that I did in fact get all of the meat in the freezer, barely.